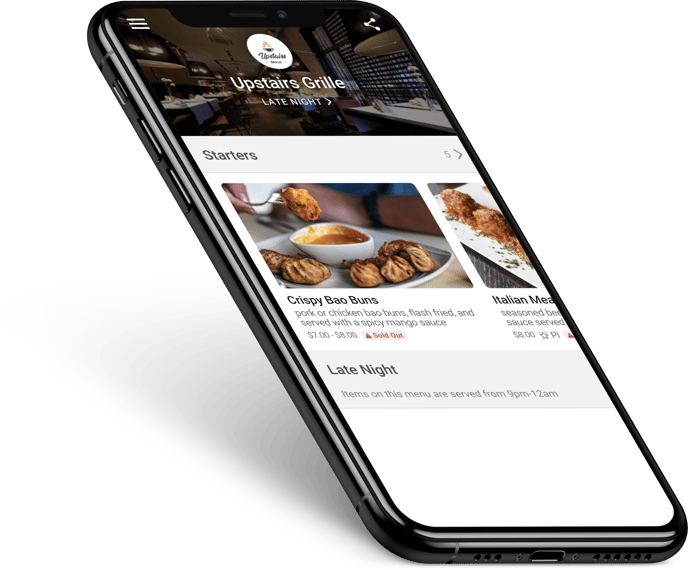
Categories are a great way to separate the items on your menu and group them together with similar options. This makes navigating your menu a breeze for guests!
-
Log in at pos.tableneeds.net, or log into the Table Needs app!
-
Navigate to the "Menu Admin" section, by clicking the "Menu Icon" that's located on the left side of the screen.
-
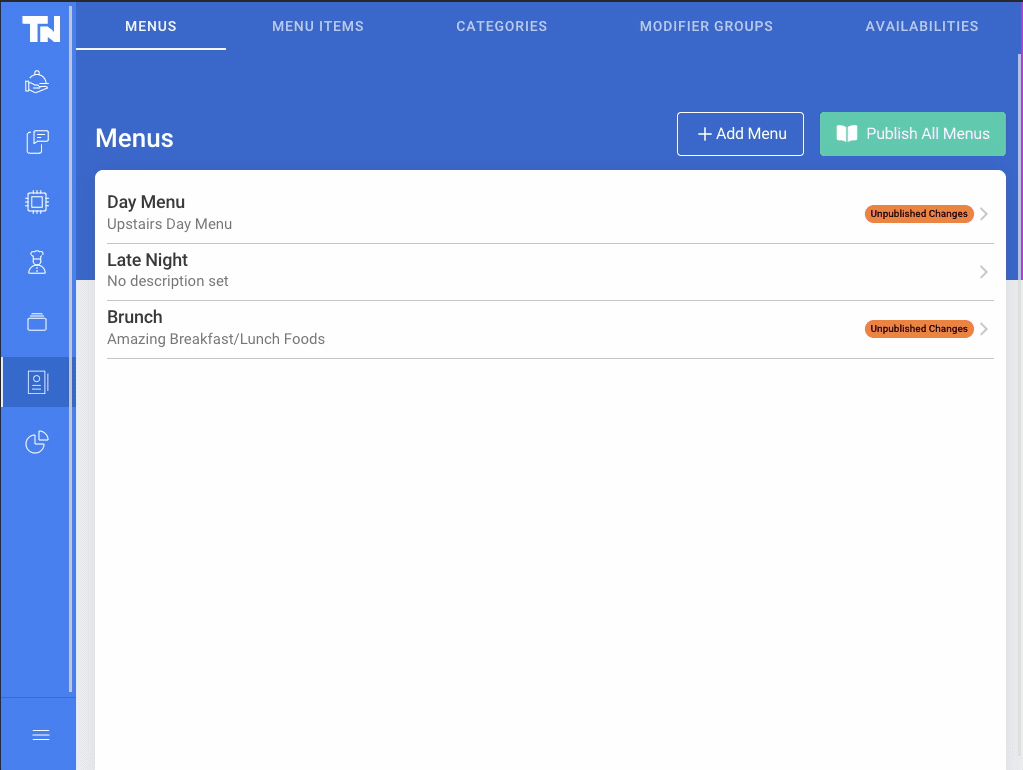
Click on the "Menus" tab, located at the top of the screen.
-
Click the green click on the desired menu. You will then be directed to the screen shown below
-
From here, click the "Edit Category" button that is located just beneath any of the categories currently on your menu.
-
This will open a new window that shows all categories available. Categories that are currently active on this menu, will have a checkmark next to them.
-
To add a new category, simply check the circle to the left of the desired category name and click the blue "Save" button.
-
You will then be taken back to the "Edit Menu" page. Here, you can reorganize your existing categories for this menu by clicking and dragging your categories.
-
You can then publish these changes directly from this page by clicking the "Publish" button located at the top of the screen. Or if you would like to make more changes before publishing, you can click the "Save" button.
-
You will then need to click the "Back" button, to return to the Menus page.
Note: Adding a category to a menu without menu items added, will not display on the menu unless the category is set as a "Category Message". Interested in learning more about changing your menu style? Check out our tutorial Here!