This How-To goes over creating a new category for your menus and how to apply Menu Items to them! Read on below to become the expert!
-
Log in at pos.tableneeds.net, or log into the Table Needs app!
-
Navigate to the "Restaurant Admin" section, by clicking the "Menu Icon" that's located on the left side of the screen.
-
Click on the "Categories" tab, located at the top of the screen.
-
Click the green "Add a Category" button.
-
Type the name of your category.
-
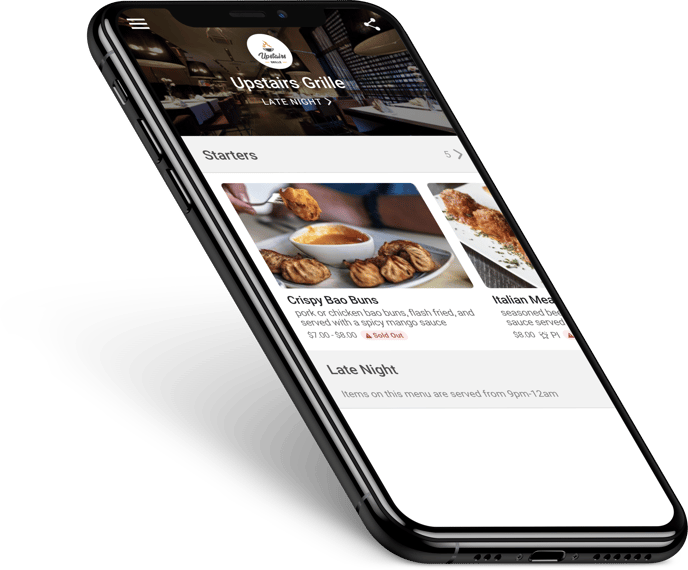
From here, you will be able to select the layout for how items and their images are displayed in the category. Simply click on the desired layout
-
Add menu items to this category, by clicking "Add Menu Item"
-
You can then save your changes by clicking the blue "Save" button at the top right of the screen
-
This will bring you back to the categories tab.
Wondering how you can change the layout of these categories and what each view looks like? Take a look at our "Change or Update Menu Style" guide!
Don't forget! Click the "Menus" tab and the green "Publish Menu" button to see
the changes reflected on your consumer menu!