
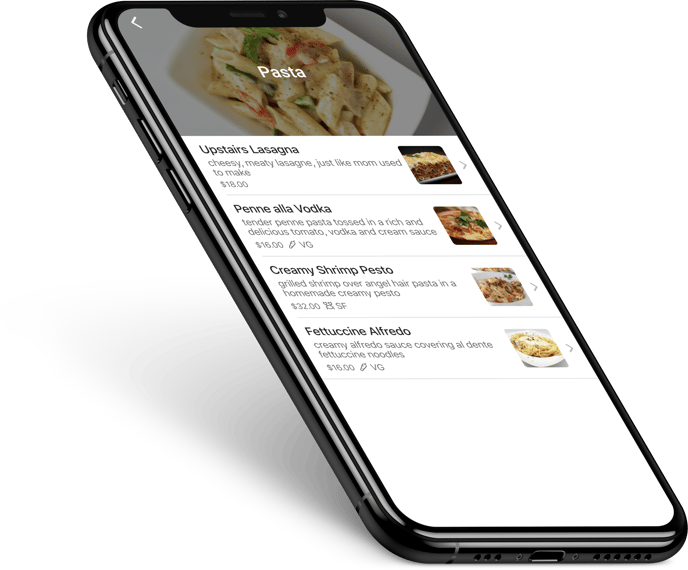
Adding mouth-watering images to your menu
Adding images to each of your menu items allows your guests to get a visual of what they are ordering. Adding stunning images to your items is an awesome way to engage your guests! Find out how below!
-
Log in at pos.tableneeds.net, or log into the Table Needs app!
-
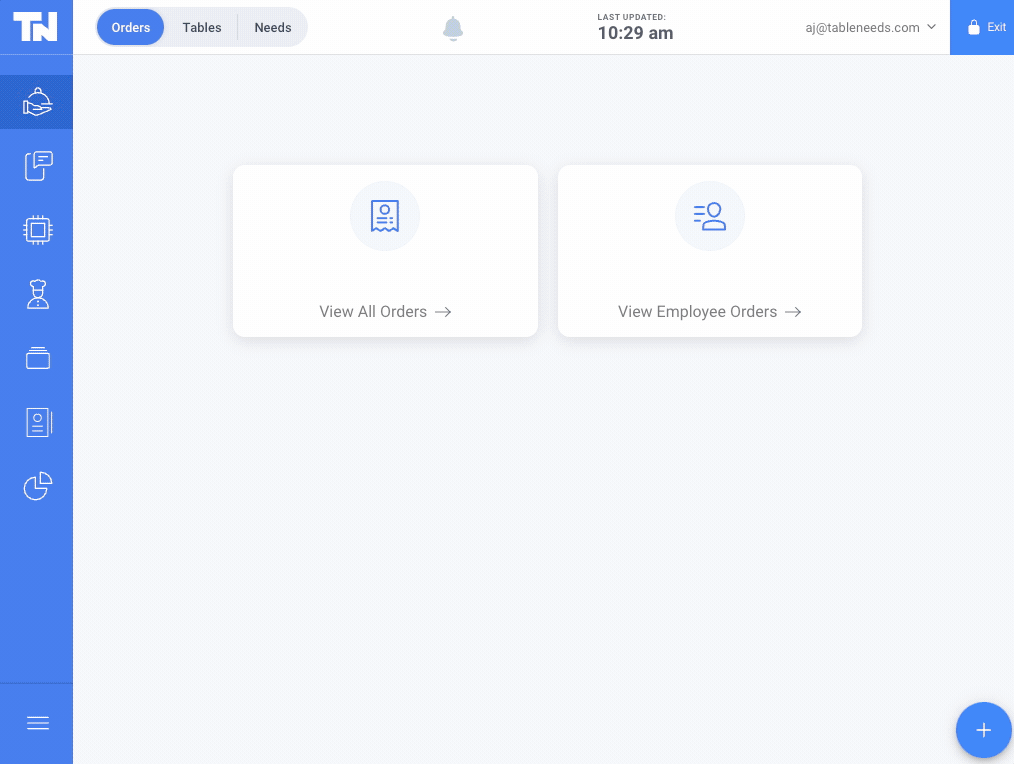
Navigate to the "Menu Admin" section, by clicking the "Menu Icon" that's located on the left side of the screen. Then click on the "Menu Items" tab.
-
From here, click on the desired menu item.
-
Just below where you set the name and variations for your item. There is a box labeled "Upload Item Image". You can either drag and drop an image into this box, or you can click on the box to select an image from your computer or device.
-
Once your new image has been uploaded, you can go ahead and click the blue "Save" button at the top of the screen!
 Don't Forget to Publish your menu after adding your new images! Without publishing the menu, your new images will not be displayed to guests.
Wanting to go back and add more items to your menu? We have a great tutorial that can show you how! Check that out here!