Enable/Disable: On this page, there will be a button that is either green and says “Enabled” or is red and says “Disabled”. Selecting this button will switch between Enabled and Disabled and when it is set to disabled, it will remove this item from the menu and place it back on the menu when it is enabled.
In Stock/Sold Out: On this page, there will be a button that is either green and says “In Stock” or is red and says “Sold Out”. Selecting this button will switch between In Stock and Sold Out and when it is set to Sold Out, it will gray out this button on the POS and say Sold Out on the button itself, not allowing it to be used.
First, we will start by switching to the inventory tab by selecting the button with 3 lines top left.
This will open a sidebar that will give us different tabs to select within the point of sale. We will be selecting the Inventory tab.

We will now be on the inventory tab. We can select the category of the menu item on the left of the page. After we select the category, we can select the menu item we wish to switch between an Inventory and Status item.

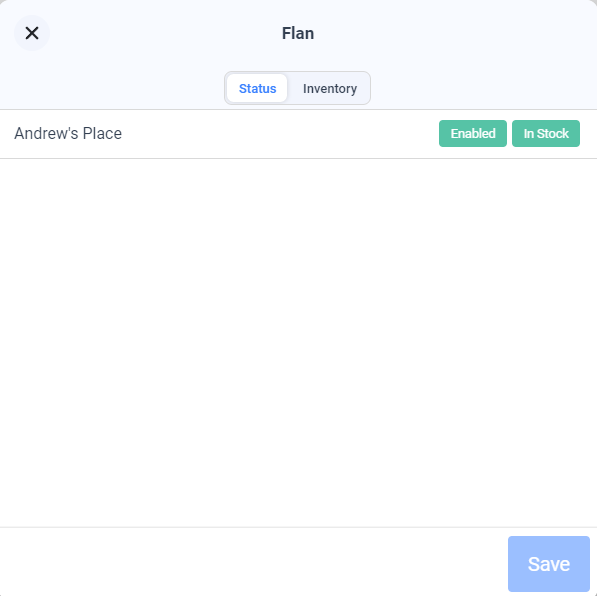
Once you select a menu item, it will bring up a new page that looks like the image below. We can see a toggle at the top of this pop-up. We can select between Status and Inventory on this page. On the status page here, we can see that there are Enabled and In Stock.
Enabled: Used for when an item is no longer being sold for the foreseeable future.
In Stock: Show an item is still for sale but currently unavailable due to lack of stock.
Selecting “Enabled” will switch it to “Disabled” and selecting “In Stock” will switch it to “Sold Out”.