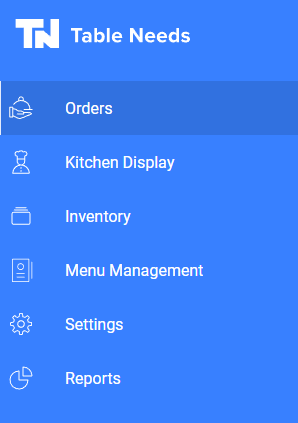
First, we will start by switching over to the Menu Modifier tab in the point of sale. We will get there by selecting the three lines at the top left. This will bring up a navigation bar that we can use to select the Menu Modifier Tab.
Selecting that button, we can see all the available options. Here, we can select “Menu Management” to start creating a category.
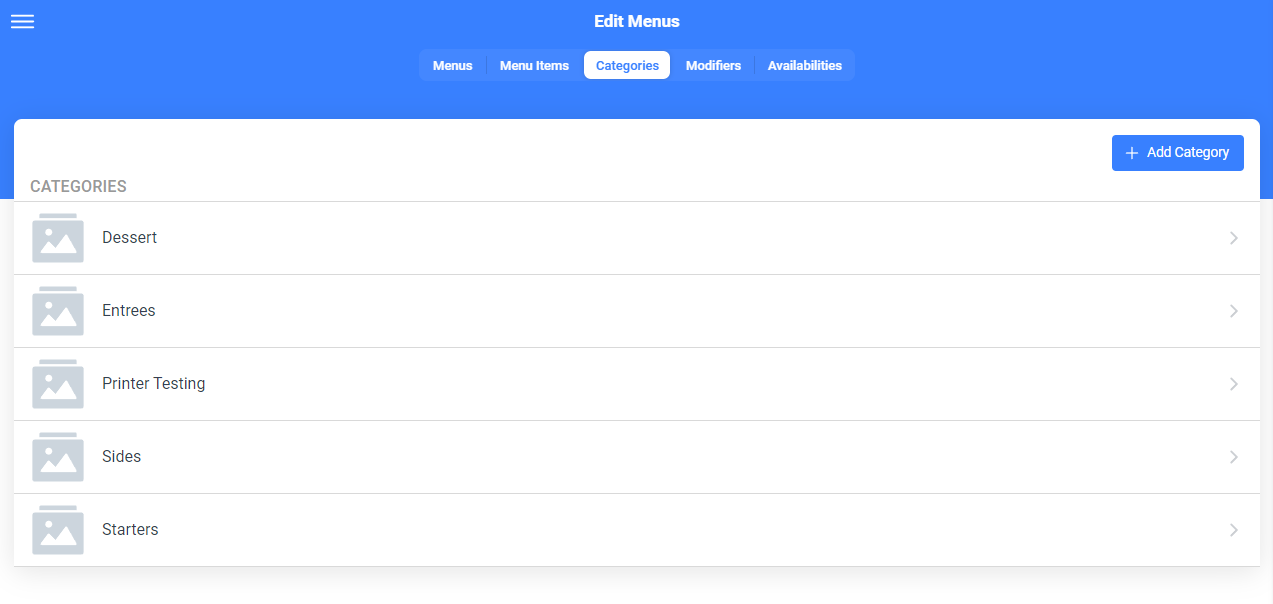
Once we are here, we can see the different tabs at the top to select. We will select the “Categories” tab at the top.
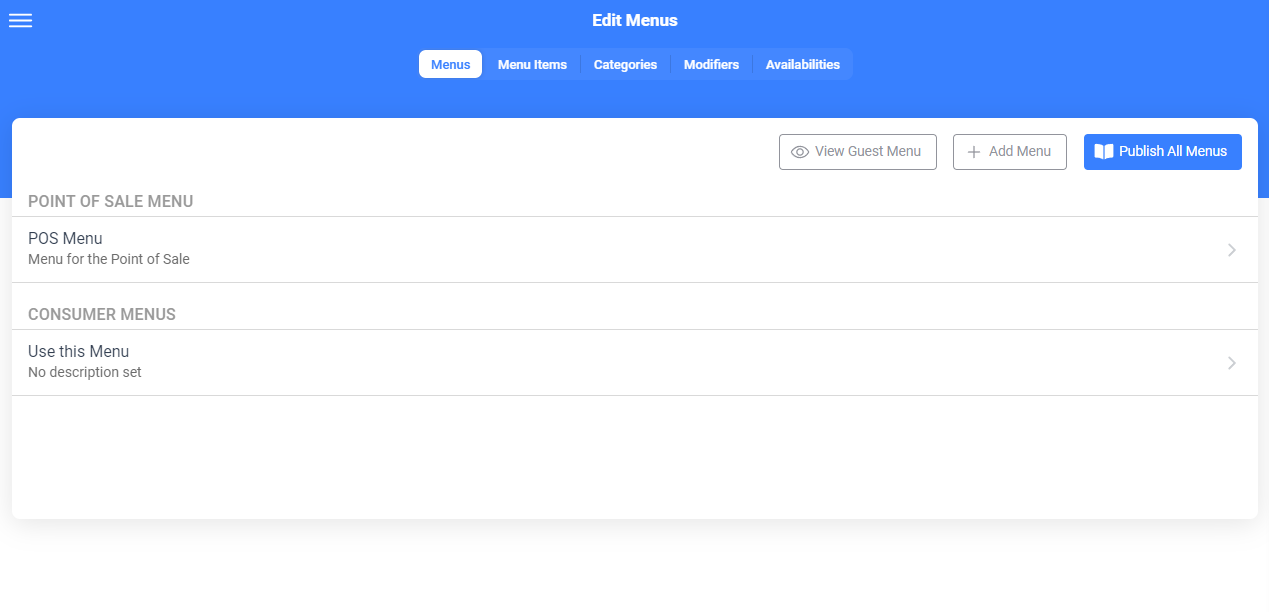
From here, we can either edit current categories or select “+ Add Category” to create a new one. Here we will be creating a new one.
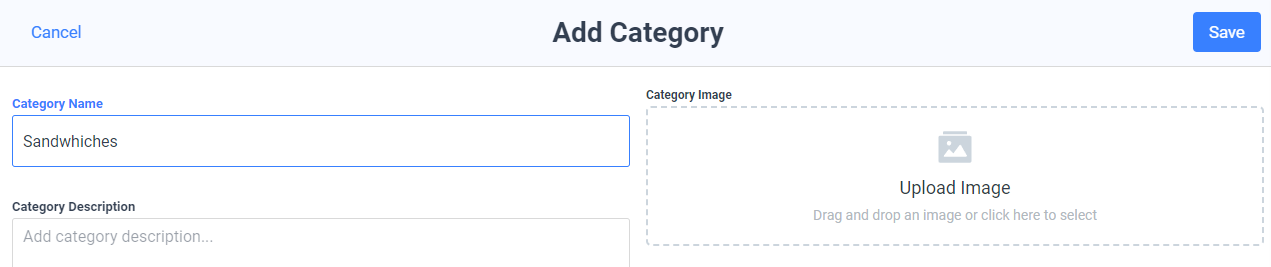
From here, we can see all the needed
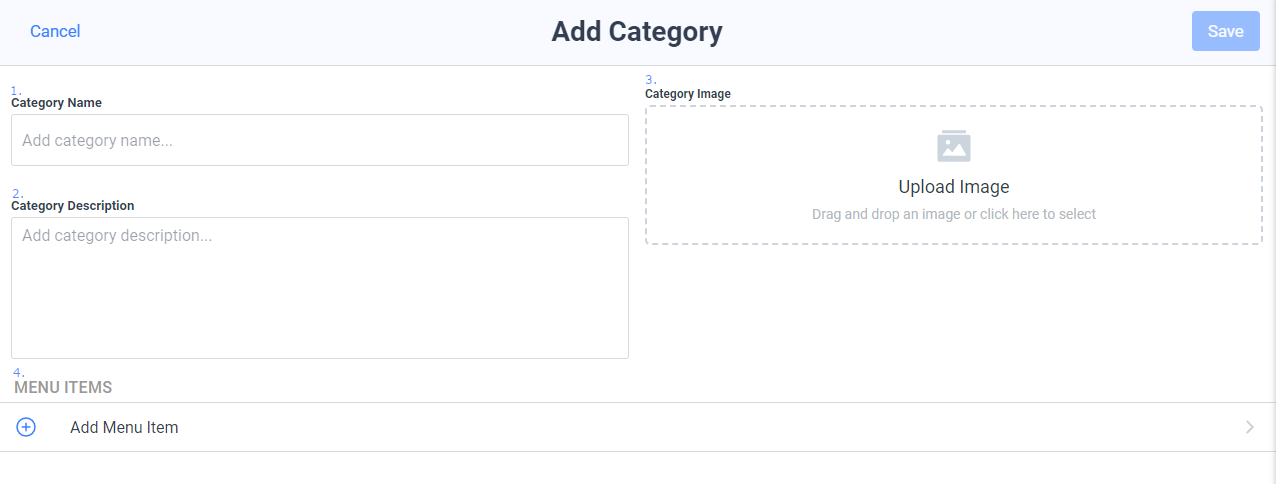
- Category Name: The name that will appear online and in-house menu.
- Category Description: A quick description of the category for online menus
- Category Image: An image that is only used for online menus
- Menu Items: This is where you will add menu items to the category if they have already been added to the system. If there are no menu items to add at the moment, we can skip this step.
Once there is a name in the Category Name field, we can see the “Save” button at the top right is now a deeper blue and ready to be saved. We can now save this category to the system.