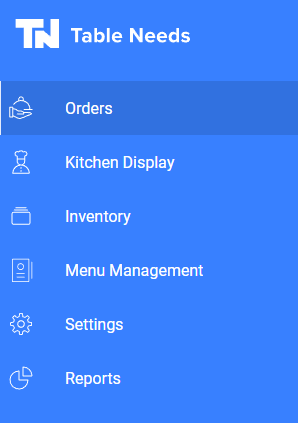
First, we will start by switching over to the Settings Modifier tab in the point of sale. We will get there by selecting the three lines at the top left. This will bring up a navigation bar that we can use to select the Settings Tab.
Selecting that button, we can see all the available options. Here, we can select “Settings” to start.
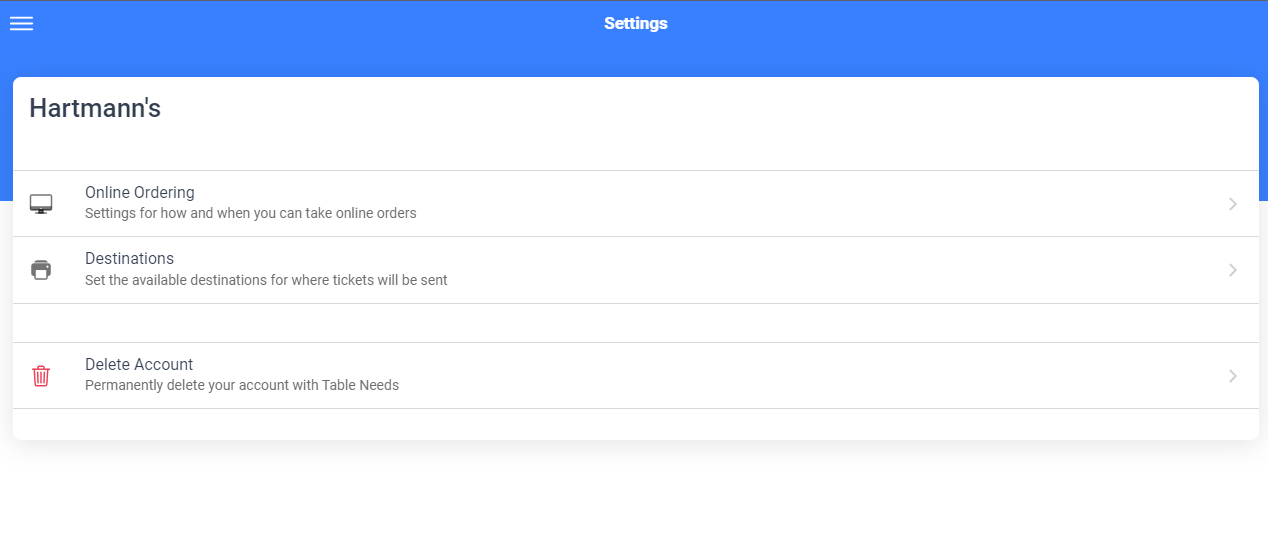
From here, we can see the “Online Ordering” button. Go ahead and select this
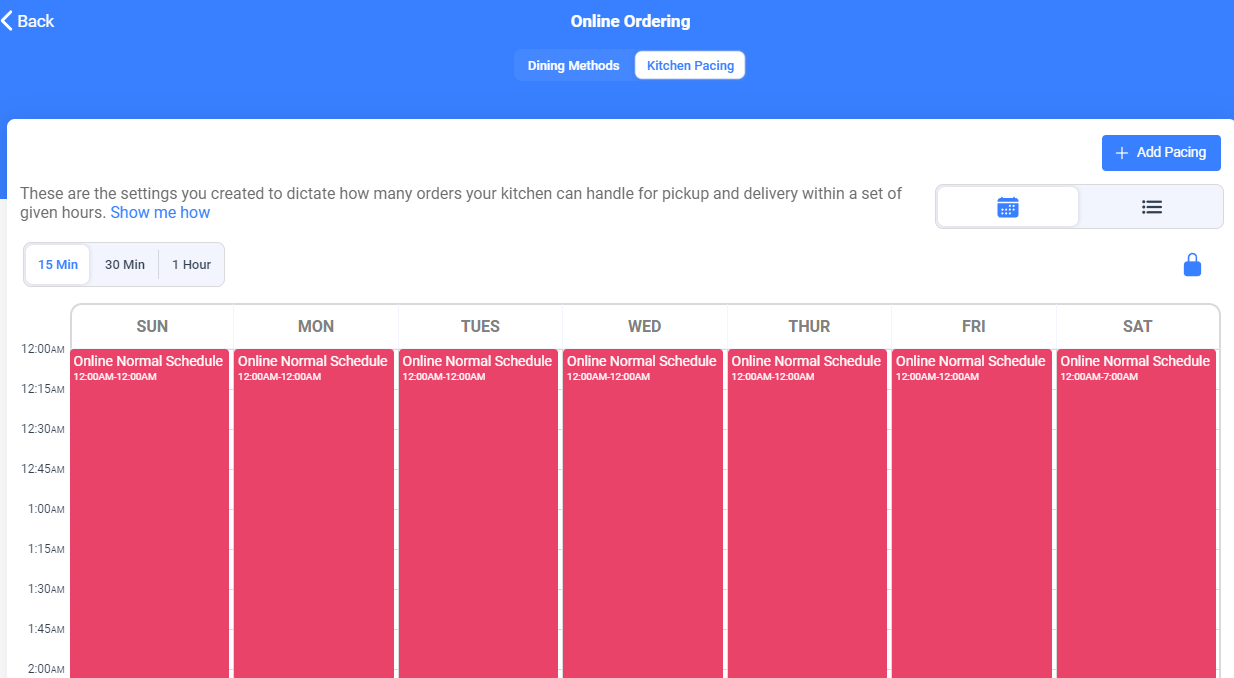
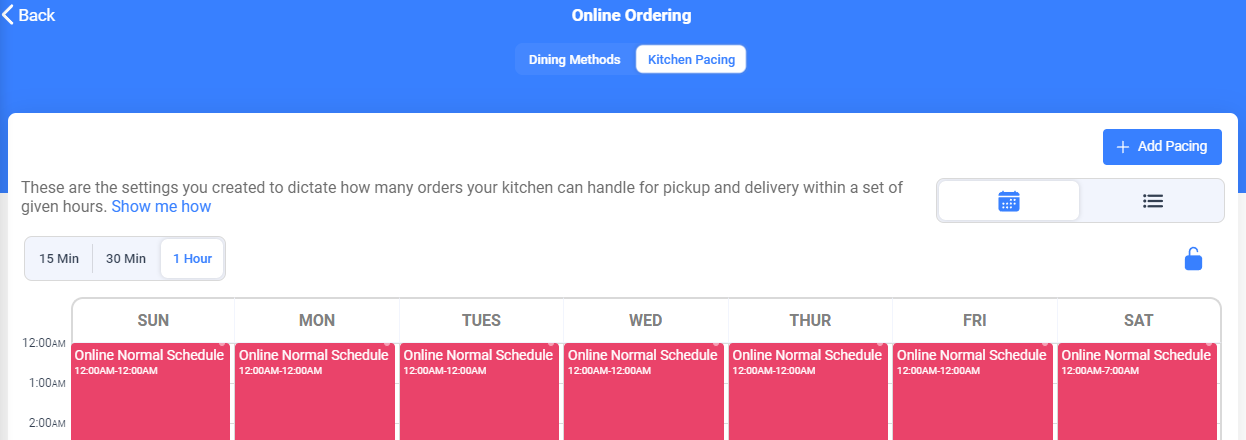
At the top of this tab, we can see the tab for “Kitchen Pacing”. Go ahead and select this to switch to the kitchen pacing so we can start adding and modifying this.

From here, this is the page we will use to modify and create new pacings to show how many orders the kitchen can handle at a certain time period. Let us go ahead and select “Add Pacing” at the top right to start a new pacing.

We can see here how many orders we will allow for timeslots with “Max Pickup Orders” and “Max Delivery Orders”. Higher numbers will allow for more orders for timeslots this is assigned to.
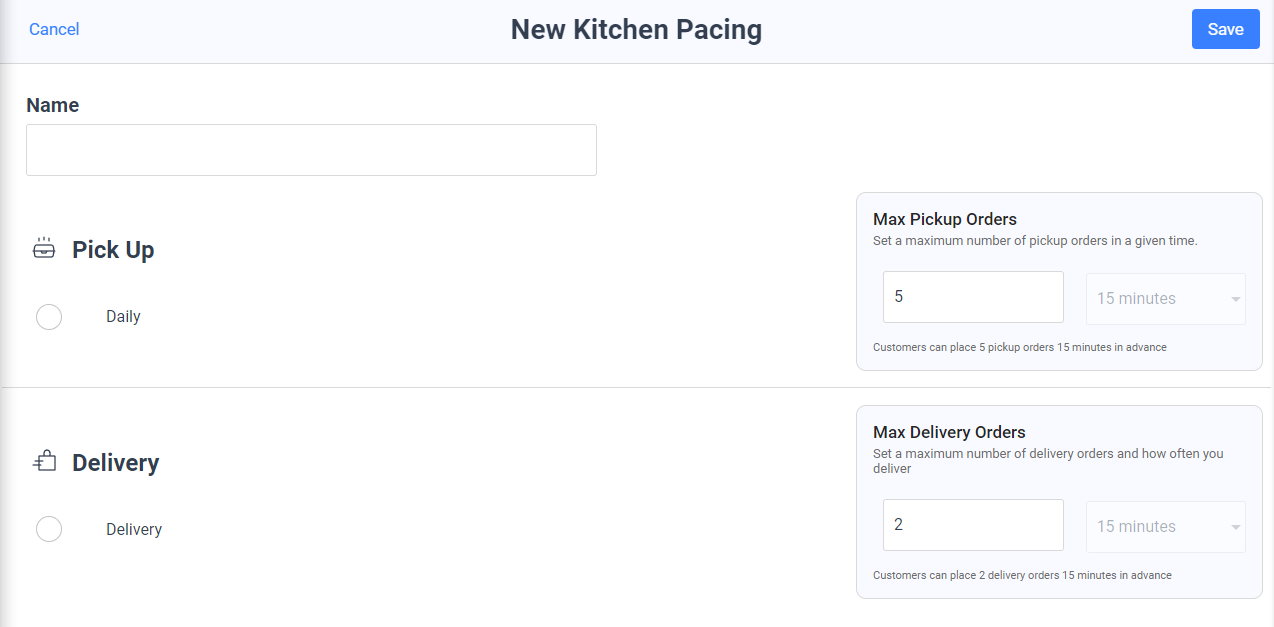
We will set all our fields and select “Save” when we are done.

From here we can start by adding this pacing to the calendar below. Go ahead and select the blue “lock” at the top right. This will switch it from a closed lock to an open lock.
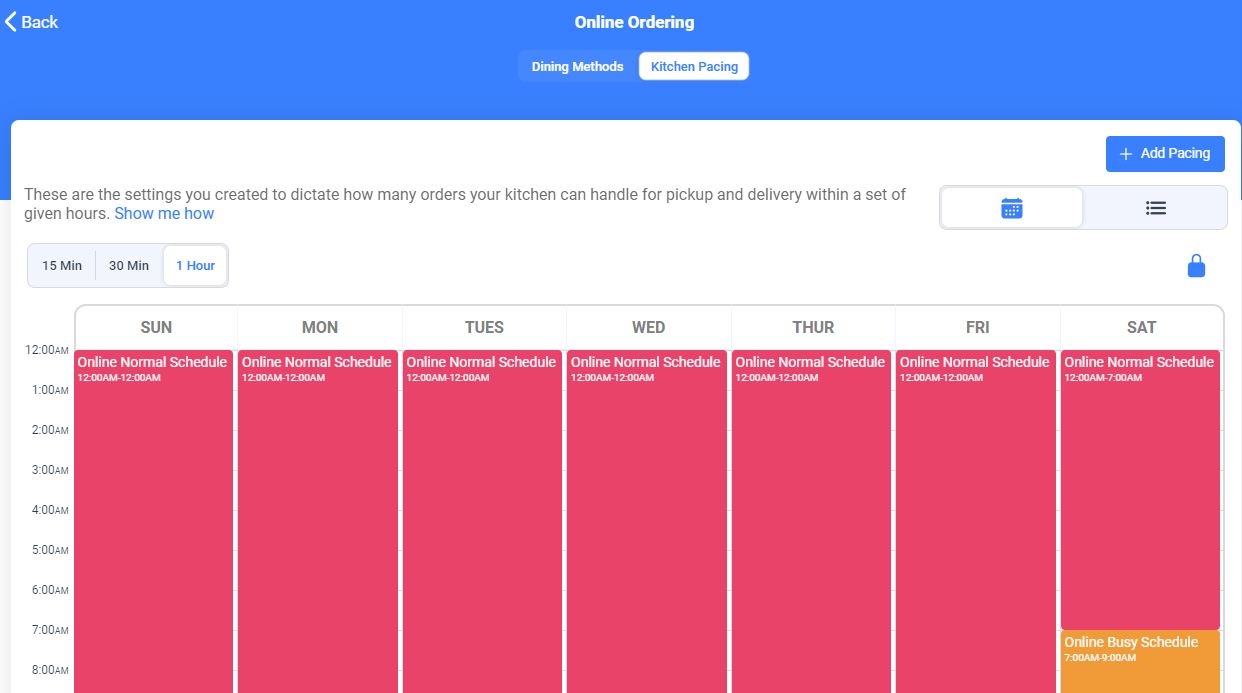
Now that the lock is open, we can start to modify the calendar.

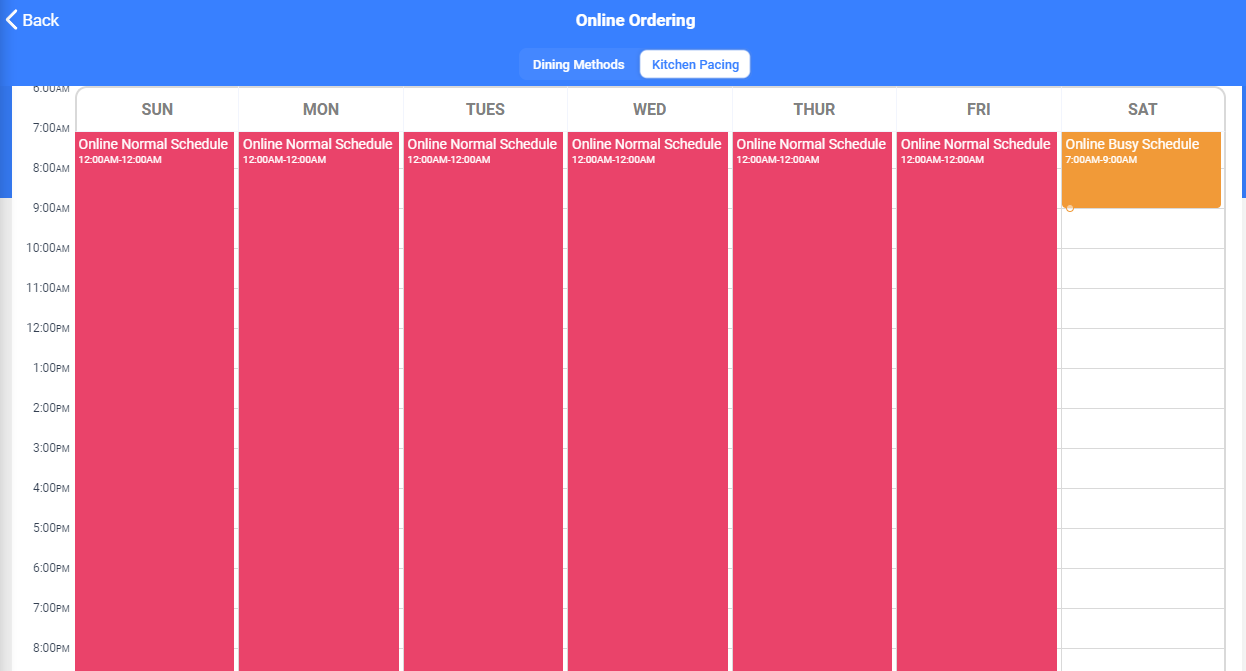
Scrolling down, we can find an open slot on the calendar and select it to begin adding the new kitchen pacing.
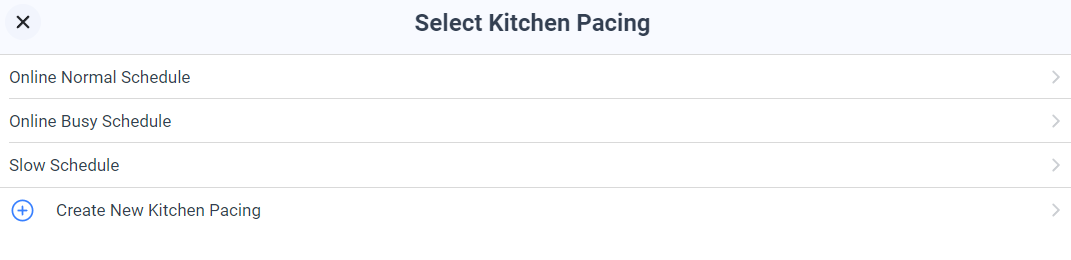
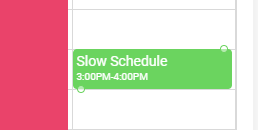
Here we can see all the schedules we have available to us. We will select “Slow Schedule” that we just created.
Now we can see our new schedule on the calendar. There are two bubbles on this time slot on the bottom left and top right of it. Hold selecting and dragging it will make it bigger and smaller and allow it to stretch beyond more or less hours on the calendar.

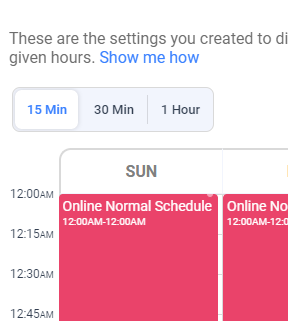
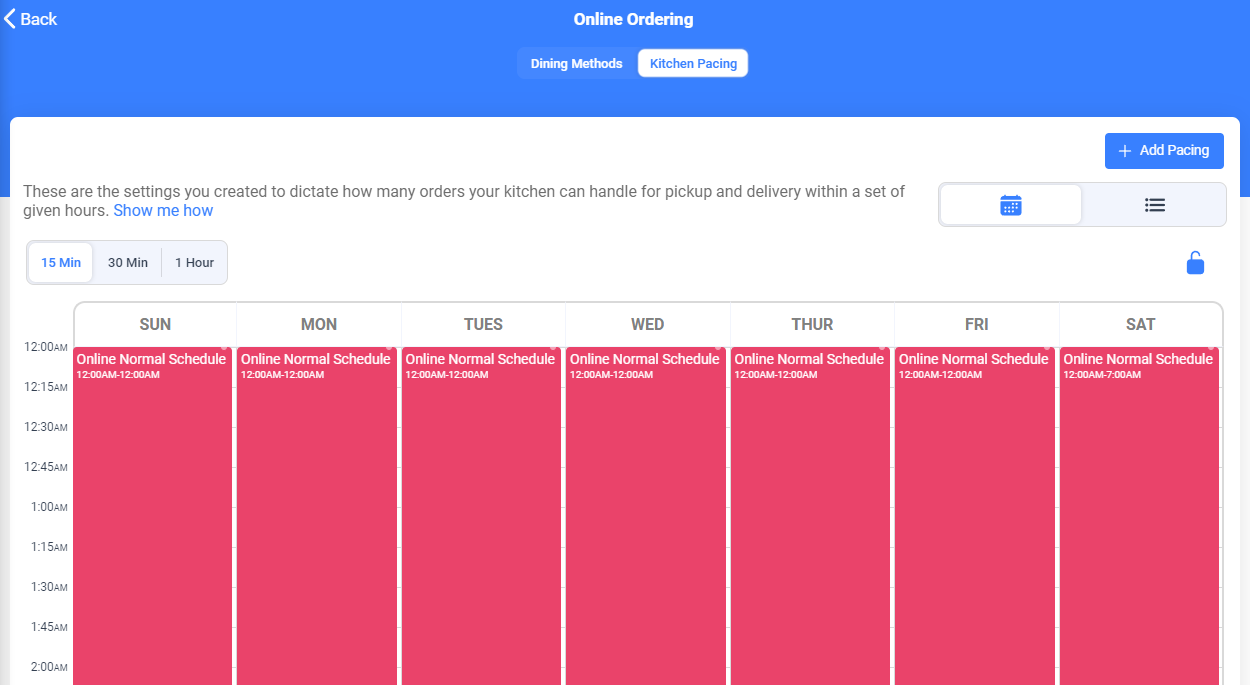
If we wish to be able to switch from whole hour blocks to 30 minute or 15 minute blocks, we can use the toggle at the top right where we see “15 min, 30 min, 1 hour” in a toggle.
Switching this to 15 min, we can see the timeslots at the left of the calendar switch from whole hours to 15-minute time slots. This allows us to have more granularity in the calendar for our scheduling.
When we are finished, we will go through and select the blue lock again at the top right.
With the lock being closed, we have finished modifying the calendar and it is already saved.